Removing ten backgrounds one at a time creates ten chances to choose the wrong color, lose a file, overwrite an output, or forget which images were reviewed. A batch workflow reduces those decisions while still letting you inspect each result.
Prepare a batch that belongs together
Group images by intended use, not simply by the folder where they happen to live. Product photos for one marketplace listing form a useful batch. Portraits for a company directory form another. Mixing catalog images, pet photos, and profile pictures makes it harder to choose one output background and one quality standard.
Keep the originals untouched
Background removal creates derivatives. Keep the source files in their original folder and save results into a separate destination such as Product Photos — Transparent. This makes it obvious which files can be recreated and prevents a cleanup pass from deleting the only copy.
Do not force every image into one shape
Portrait, landscape, and square sources should remain in their original proportions unless your publishing destination requires a crop. A thumbnail grid may place them inside equal-sized preview areas, but the image itself should use “contain,” not “cover.” Cropping a preview can hide a damaged edge or falsely suggest that the saved file was cropped.
Choose the output before processing
The correct background depends on the next step:
| Output | Best for | Watch out for |
|---|---|---|
| Transparent PNG | Design systems, slides, thumbnails, future reuse | Some basic viewers display transparency as black |
| White background | Catalogs, documents, profile directories | White clothing and pale edges need inspection |
| Custom color | Brand campaigns, badges, consistent social graphics | Strong contrast can reveal halos |
When uncertain, keep a transparent PNG master. You can add white or a brand color later without removing the background again. Applying a color is compositing; it does not require repeating subject detection.
Select and process the images together
In CutBG’s image workspace, choose multiple files, then set the background treatment for the whole group. The batch list keeps each source visible before processing, which is a useful last chance to remove accidental selections.
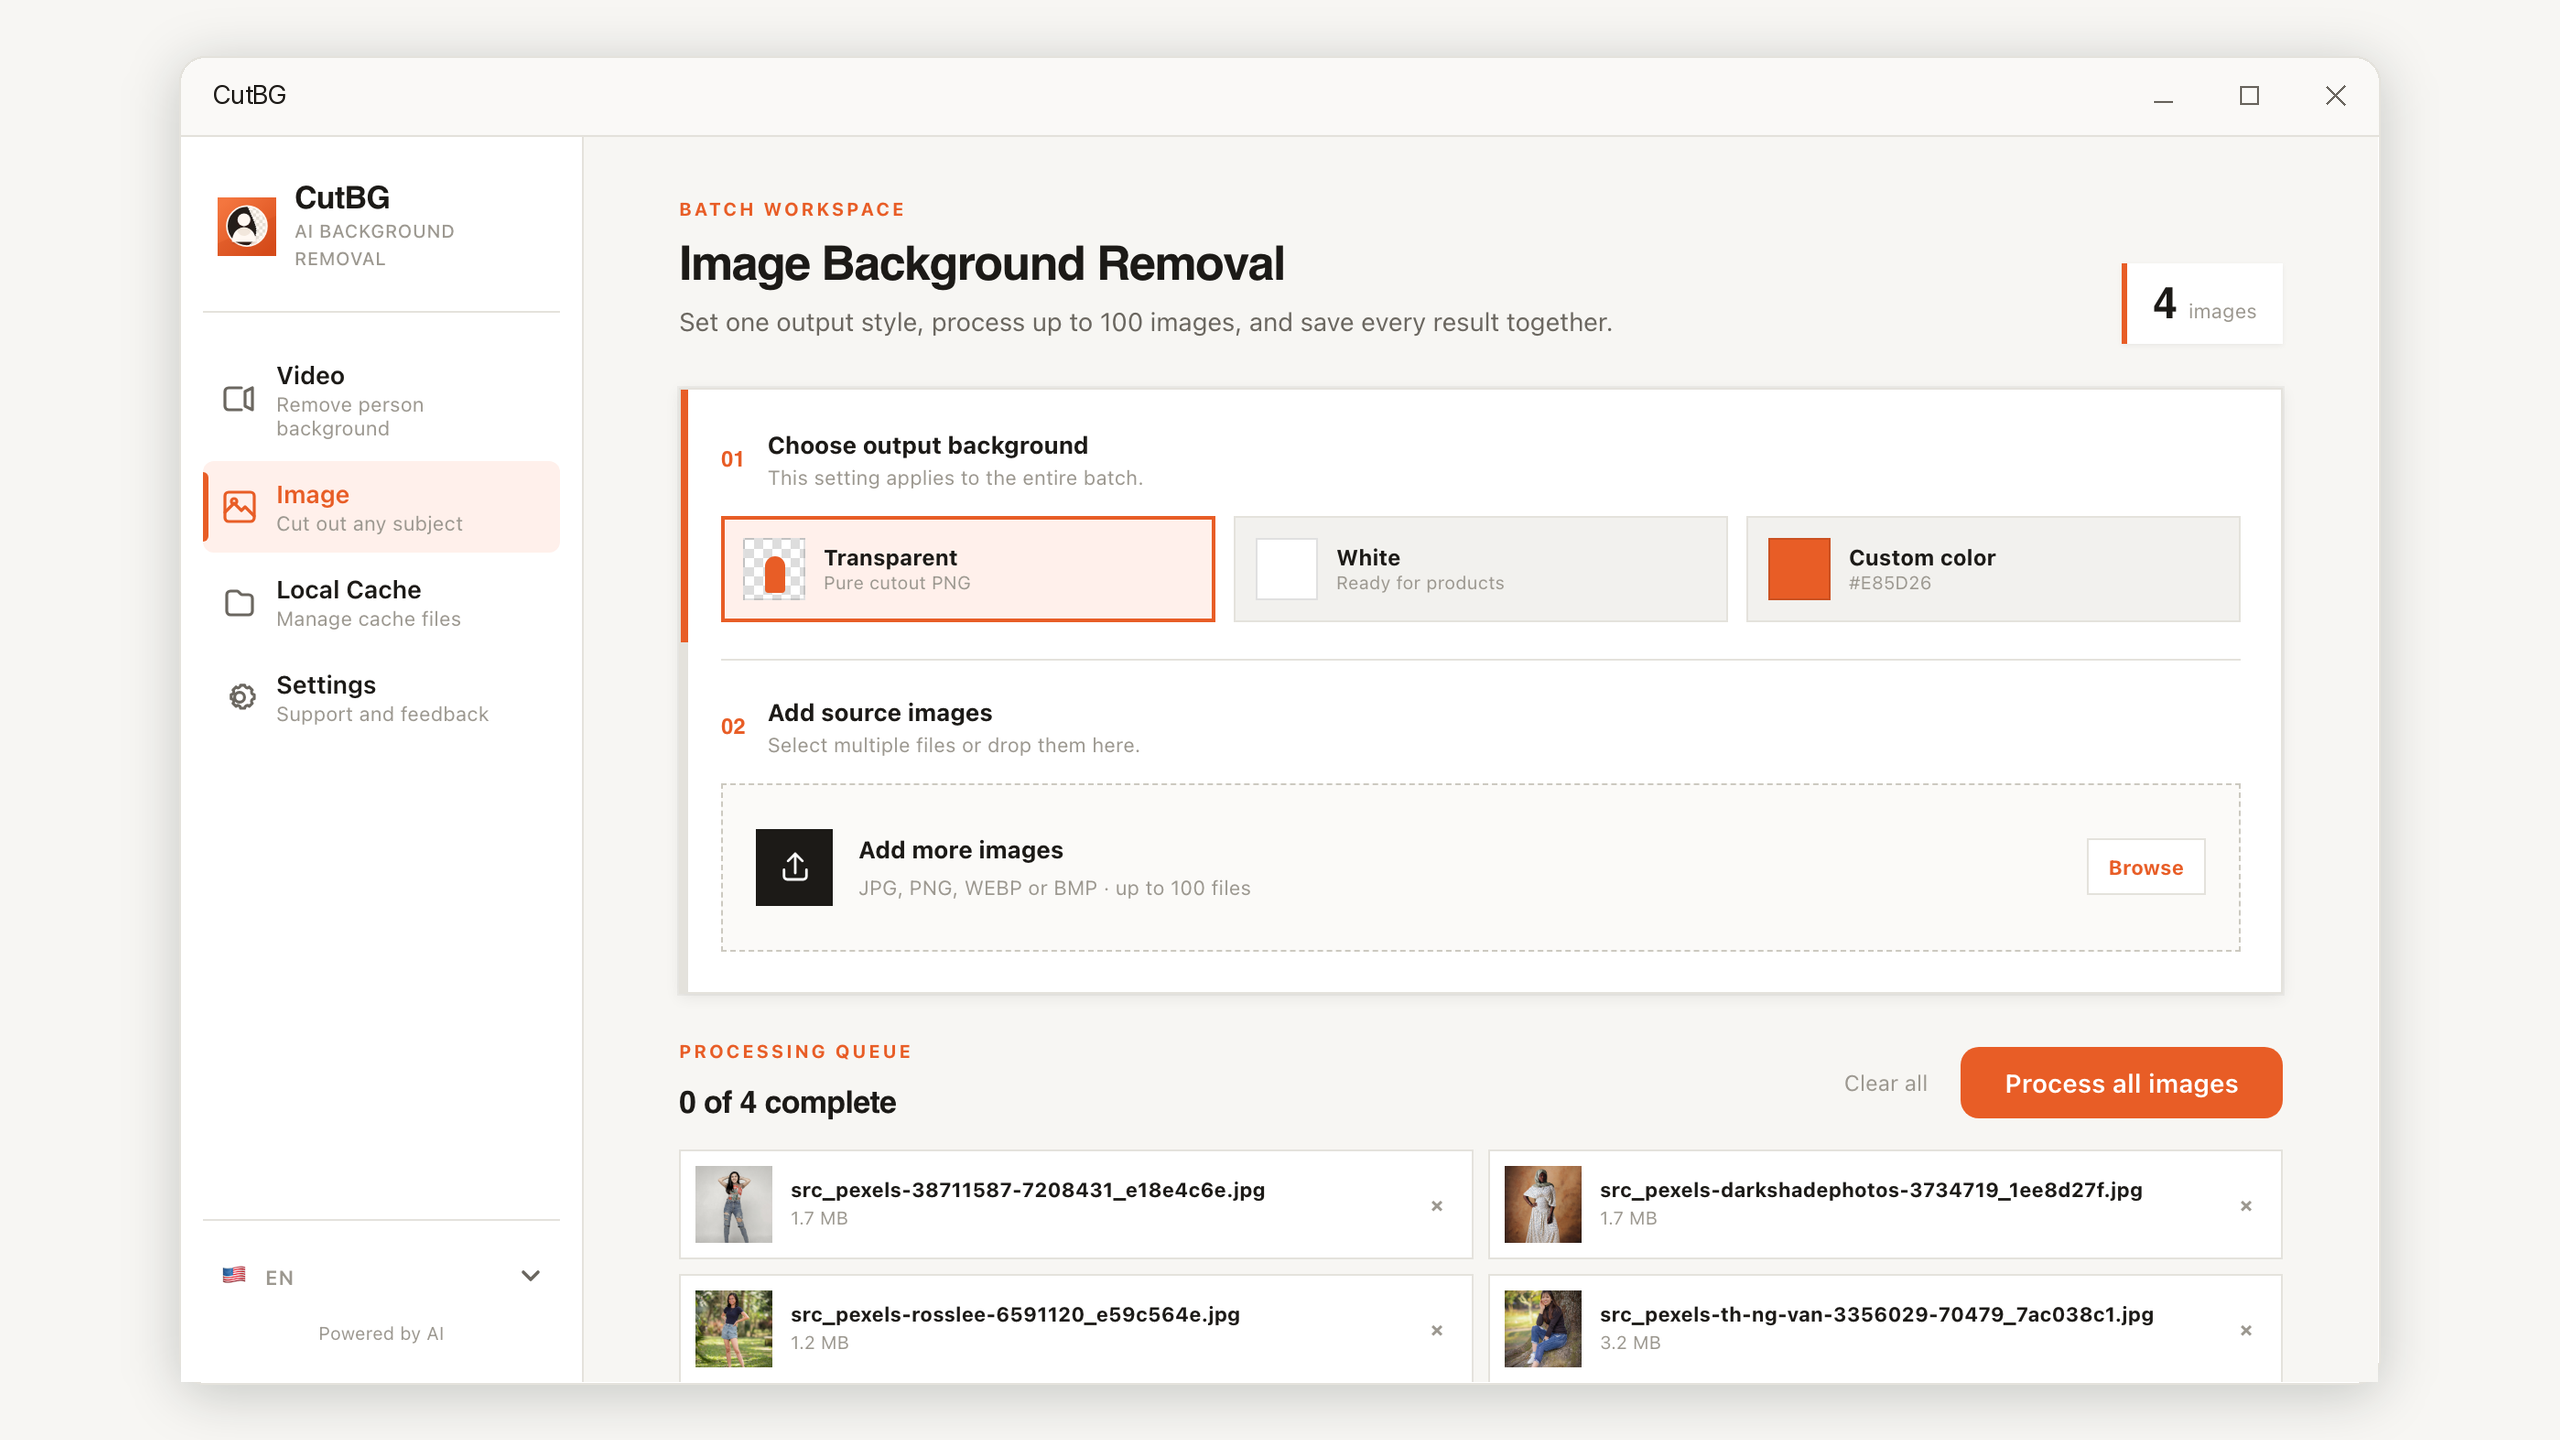
Background removal can handle people, products, animals, and other foreground subjects in still images. That does not mean every photograph is equally easy. Transparent glass, smoke, shadows, fine fur, and objects touching the frame may need closer review.
Review the set without overlooking the difficult file
Start with the thumbnail grid to confirm that every file produced an output. Then enlarge the images most likely to fail:
- light hair or white products against light walls;
- black clothing or dark products against dark furniture;
- fine fur, spokes, wires, plant leaves, or lace;
- transparent or reflective objects;
- objects touching a visually similar surface.
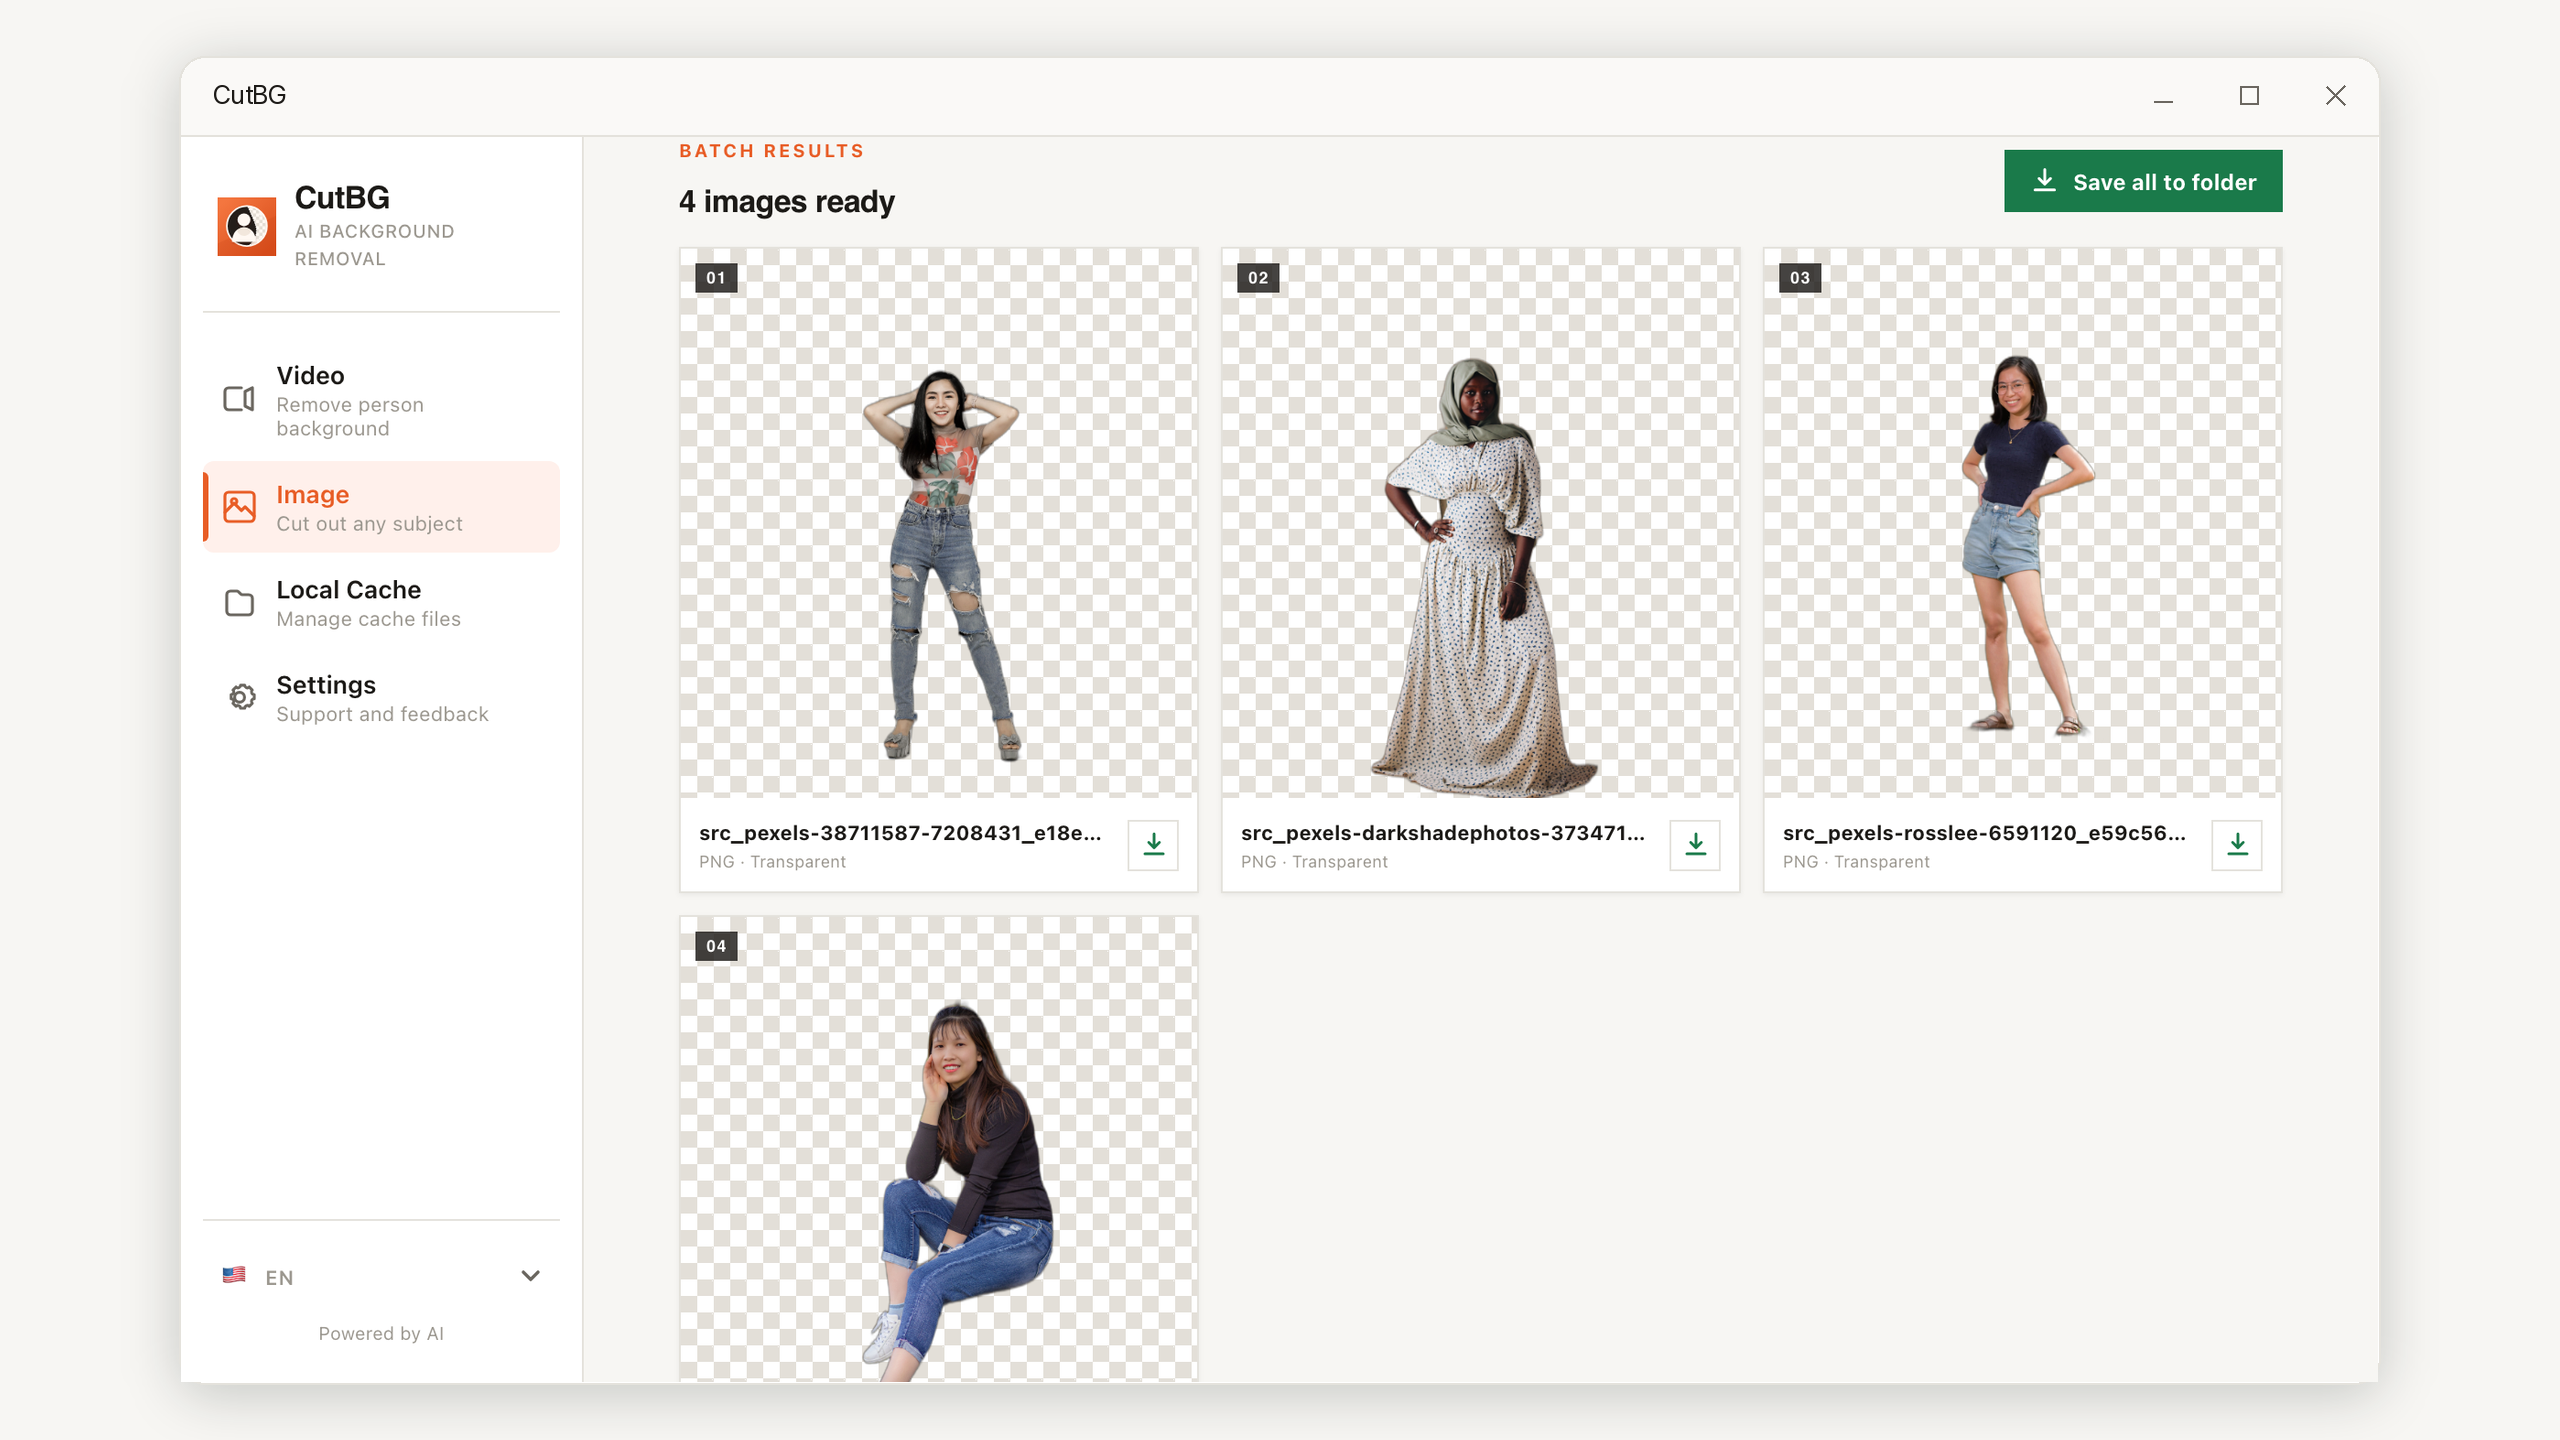
Inspect transparent results over the color where they will actually appear. A pale halo may be invisible on the checkerboard and obvious on a dark website. If one file fails, do not lower the standard for the whole batch; separate it for another attempt or manual cleanup.
Save the batch into a deliberate destination
Choose a folder with enough context that it still makes sense next month. Avoid a generic folder called output inside Downloads. A useful structure is:
Example folder structure
Spring Catalog / SourcesSpring Catalog / Cutouts — TransparentSpring Catalog / Listings — White
Batch save should write each completed result to the chosen directory while keeping names recognizable. After saving, open two or three files from the destination itself. This catches mistakes where the preview was correct but the wrong folder or an older output was delivered.
When should you add the background later?
Keep transparency when the same cutout will appear in several designs, when brand colors may change, or when another person will assemble the final layout. Apply the final color immediately when the delivery specification explicitly requires white or a fixed brand color and transparency would create unnecessary ambiguity.
CutBG can preview custom background colors immediately and apply the chosen color when saving. That separates subject detection from the later compositing decision, so changing the color does not require another removal pass.
Batch background removal checklist
- All images belong to the same output purpose.
- The original files are stored separately and remain untouched.
- Transparent, white, or custom color was chosen before processing.
- Portrait and landscape previews retain their true proportions.
- Fine hair, fur, holes, reflections, and frame-touching objects were enlarged and checked.
- The saved destination was opened and sampled after batch save.
Turn the checklist into one workflow
CutBG supports multiple image selection, shared output settings, proportional result previews, click-to-enlarge review, and batch saving to a folder on Windows.
Get CutBG from Microsoft Store