Background removal works by deciding which pixels belong to the person in every frame. A green screen makes that decision easy, but modern person segmentation can often make it directly from ordinary footage. The result depends on creating clear separation between the subject and the scene.
What you need—and what you do not
You need a video where the main subject is a person, a replacement background or a plan to blur the original, and enough time to inspect a short test. You do not need a chroma backdrop, tracking markers, a cloud upload, or manual frame-by-frame masking.
This approach is especially useful for tutorials, interviews, online courses, sales videos, internal presentations, and social clips. It is less suitable when the main subject is a car, a pet, a product spinning on a table, or a crowd that fills the entire frame. A person-specific video model is designed to recognize people; it should not be treated as a universal object rotoscoping tool.
Record footage that is easy to separate
1. Create contrast around the outline
A dark jacket against a dark wall gives the model little evidence at the shoulder. Light hair against a bright window creates the same problem. Change either the wardrobe, the wall, or the camera angle so the silhouette is visibly different from what is behind it.
2. Use soft light from the front
Face a window or place a diffused light slightly above eye level. Avoid a bright window directly behind the subject. Backlighting can turn hair into a glowing fringe and force the model to choose between keeping the glow and removing the background.
3. Protect motion detail
Fast hands and hair create motion blur. Once the camera blends subject and background into the same blurred pixels, no background remover can reconstruct a perfectly sharp edge. Use more light, a faster shutter if your camera allows it, and natural rather than exaggerated gestures.
4. Keep the person large enough
A head-and-shoulders or waist-up composition usually gives the model more usable detail than a tiny full-body subject at the far end of a room. Leave comfortable space above the head and around gestures, but do not make the person a small fraction of the frame.
The fastest way to improve an AI cutout is often to improve ten seconds of recording—not to spend ten minutes adjusting a threshold.
The step-by-step workflow
Step 1: Decide what the new background must accomplish
Choose before processing. A blur preserves the location and usually looks the most natural. A solid color creates a clean presentation style. A custom image can establish a room, brand, or topic, but it needs matching perspective and light. If you are uncertain, start with blur; it hides visual clutter without introducing a second scene that can look artificial.
Step 2: Load the video and set the background mode
In CutBG, open the video workspace, select the source file, then choose image replacement, blur, solid color, or black. The controls are set before processing so the application can create the finished composite in one pass.

Step 3: Start near the default threshold
A threshold decides how confident the model must be before a pixel is treated as subject. Raising it can remove unwanted haze but may cut into hair and fingers. Lowering it can preserve fine details but may keep a halo from the old background. Begin with the default rather than assuming that “higher quality” means a higher number.
Step 4: Process a representative test
If possible, test a short clip containing the hardest moment: a hand crossing the face, hair movement, a chair back behind the shoulder, or a change in lighting. A static opening frame is rarely the best quality test.
Review the result in motion
Pause on a frame to inspect detail, then play the same section at normal speed. A single frame can look acceptable while the edge flickers from frame to frame. Check these four areas:
- Hair: look for a bright or dark outline left from the original room.
- Hands: check gaps between fingers and fast gestures near the body.
- Shoulders: inspect low-contrast clothing and chair backs.
- Frame edges: make sure the subject does not enter and leave the frame in a distracting way.
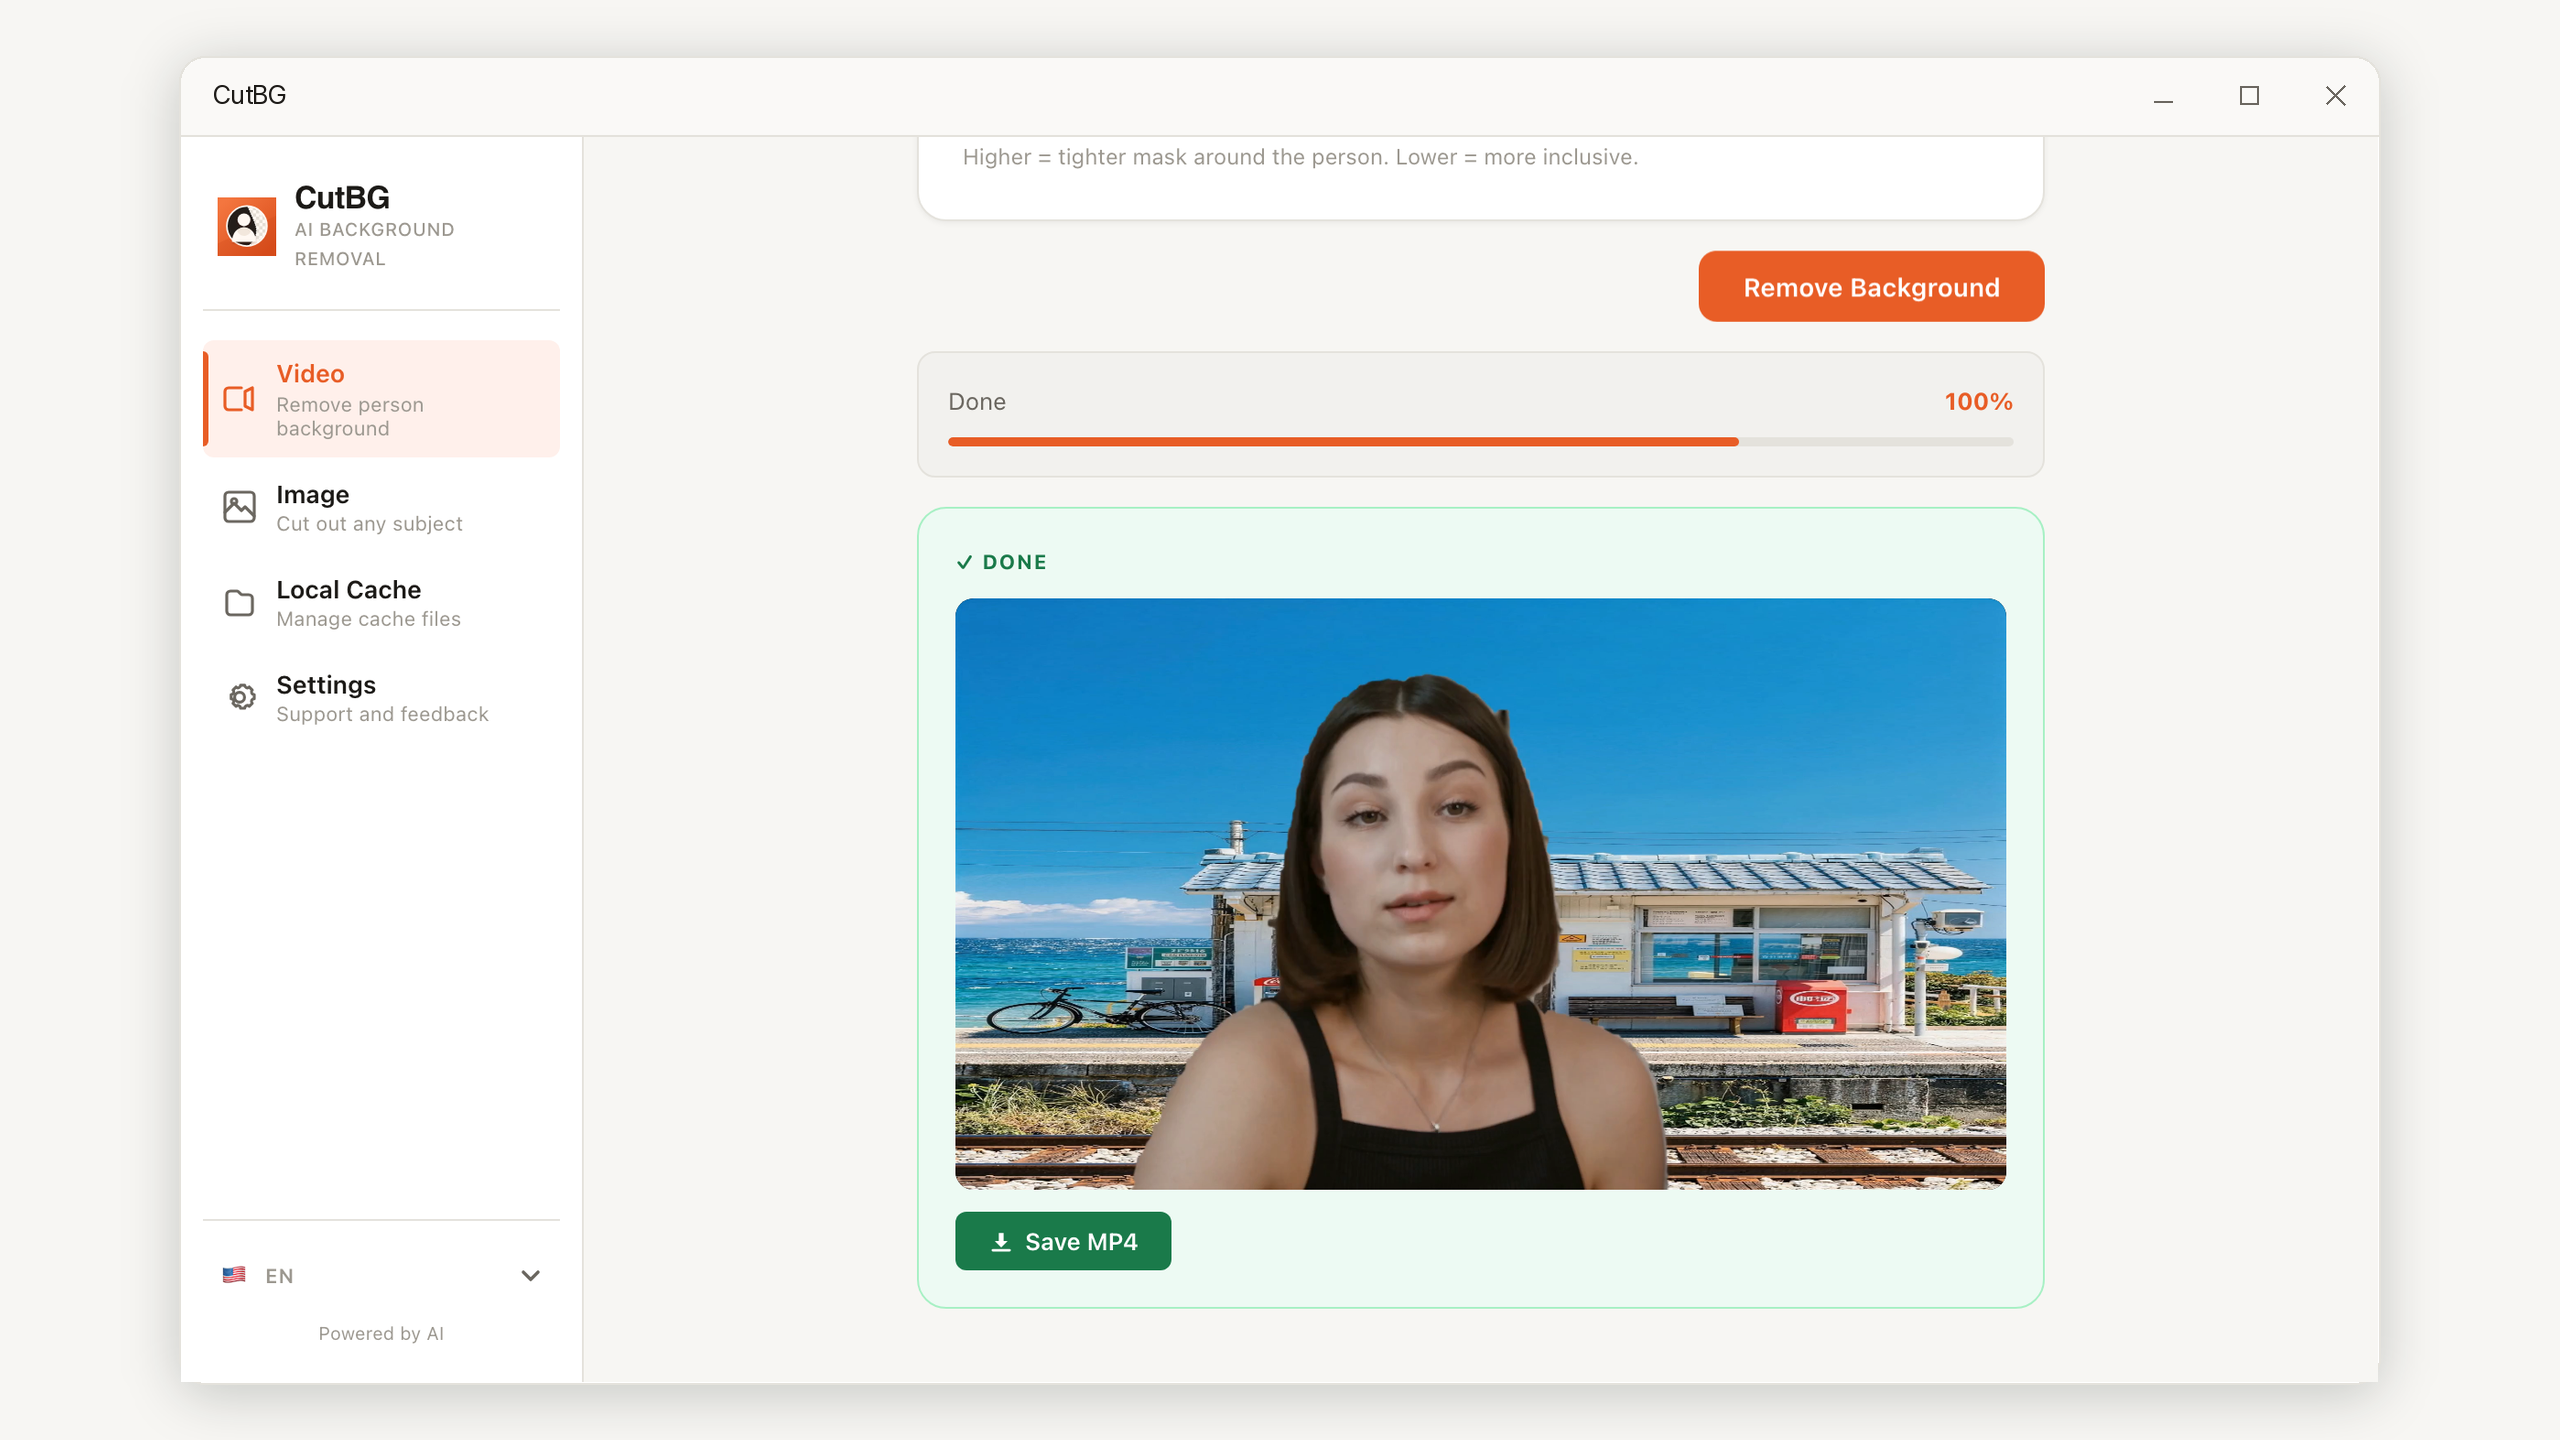
If the outline needs work, identify the symptom before changing settings. The companion guide explains how to fix halos, missing hair, jagged edges, and flicker.
Will the exported video keep its sound?
Yes. CutBG builds the new picture track from the processed frames, then includes the source audio in the final MP4. If the source has audio, the exported result has audio; if it is silent, export still succeeds. Always play the beginning and end of the finished file to confirm sync before deleting the source.
Keep the source video until the project is delivered. Background replacement is a creative derivative, not an archival master, and you may later want a different background or a more conservative edge setting.
Before you process the full video
- The person is clearly visible and not tiny in the frame.
- Hair and clothing contrast with the original background.
- The face is lit from the front without a blown-out window behind it.
- The replacement has believable perspective, color, and brightness.
- A difficult motion segment has been checked, not only the first frame.
- The final MP4 has been played with sound from beginning to end.
Process the video locally
CutBG removes or replaces talking-head video backgrounds on Windows, shows frame-by-frame progress, and preserves the source audio in the exported MP4.
Get CutBG from Microsoft Store